In this guide
- At a Glance
- Choosing Uluwatu Instagram spots with a clear idea
- Temple setting and cultural landmarks
- Limestone approaches and beach compositions
- Sunset, changing weather and working with the light
- Cafes, food and photographs with people
- A practical photo-day plan and what to carry
- Frequently Asked Questions
The best Uluwatu Instagram spots are the ones where you can enjoy the setting and make a photograph without stepping into traffic, crossing a barrier or disrupting someone else's day. I would choose two contrasting locations on the Bukit and give each time, rather than spend the whole outing collecting the same image from a long list of pins.
I am Bugo from Pecatu and I work for BUGORIDE. A shared ride can make a photo day easier for a group, but transport is only the practical part. Good light, patience and respect for the place matter more than arriving in a particular vehicle.
This is a guide to choosing subjects and building a sensible photo outing, not a catalogue of secret access points. For the wider area, use the Uluwatu travel guide. Here I want to help you come home with images that feel like your trip rather than a rushed imitation of somebody else's.
At a Glance
- Choose a theme: limestone coast, temple setting, beach details, food or a cultural landmark.
- Keep the route short: two contrasting stops are a useful starting point.
- Respect access: use permitted paths and viewpoints; never cross a barrier for a composition.
- Road photographs: stop only in a safe, permitted place and keep the carriageway clear.
- People and worship: ask before making identifiable portraits and avoid interrupting ceremonies.
- Light: plan around the conditions you find rather than demanding a particular sunset.
- Transport: arrange the return and confirm any BUGORIDE delivery with the WhatsApp manager.
Choosing Uluwatu Instagram spots with a clear idea
Before leaving, decide what you want the photographs to communicate. A wide coastal landscape says something different from a close detail of a meal or a quiet portrait of your travelling companion. Choosing a theme makes it easier to select stops and reduces the feeling that every scenic place must be visited.
My first creative observation is that a familiar location can produce a personal image if you pay attention to one small detail. The curve of a path, a shadow on limestone or the way a friend looks out at the water may matter more than fitting every landmark into the frame. You do not need to discover an unnamed cliff to make an image your own.
Use the beach guide to understand the access involved at different coastal stops. A picture taken from the sand does not show the walk required to reach it. Carry only the equipment you can manage comfortably on the whole route, including the return.
I would also agree the pace with the people travelling. If one person wants an hour with a camera and the others want lunch, make that explicit. A photo outing should not turn everyone else into unwilling assistants. Choose a stop where people can enjoy being there even when they are not in the picture.
Temple setting and cultural landmarks
Uluwatu Temple offers a cultural and coastal context, but it remains a place of worship. Follow the site's clothing and access instructions and give worshippers space. The official tourism overview describes the clifftop setting and advises respectful dress and care with belongings.
For photographs, use the views available from permitted visitor areas. Do not enter a restricted courtyard, climb a barrier or ask someone to repeat a religious action for your camera. If a ceremony is taking place, observe the instructions given and let the activity determine your position rather than trying to direct it.
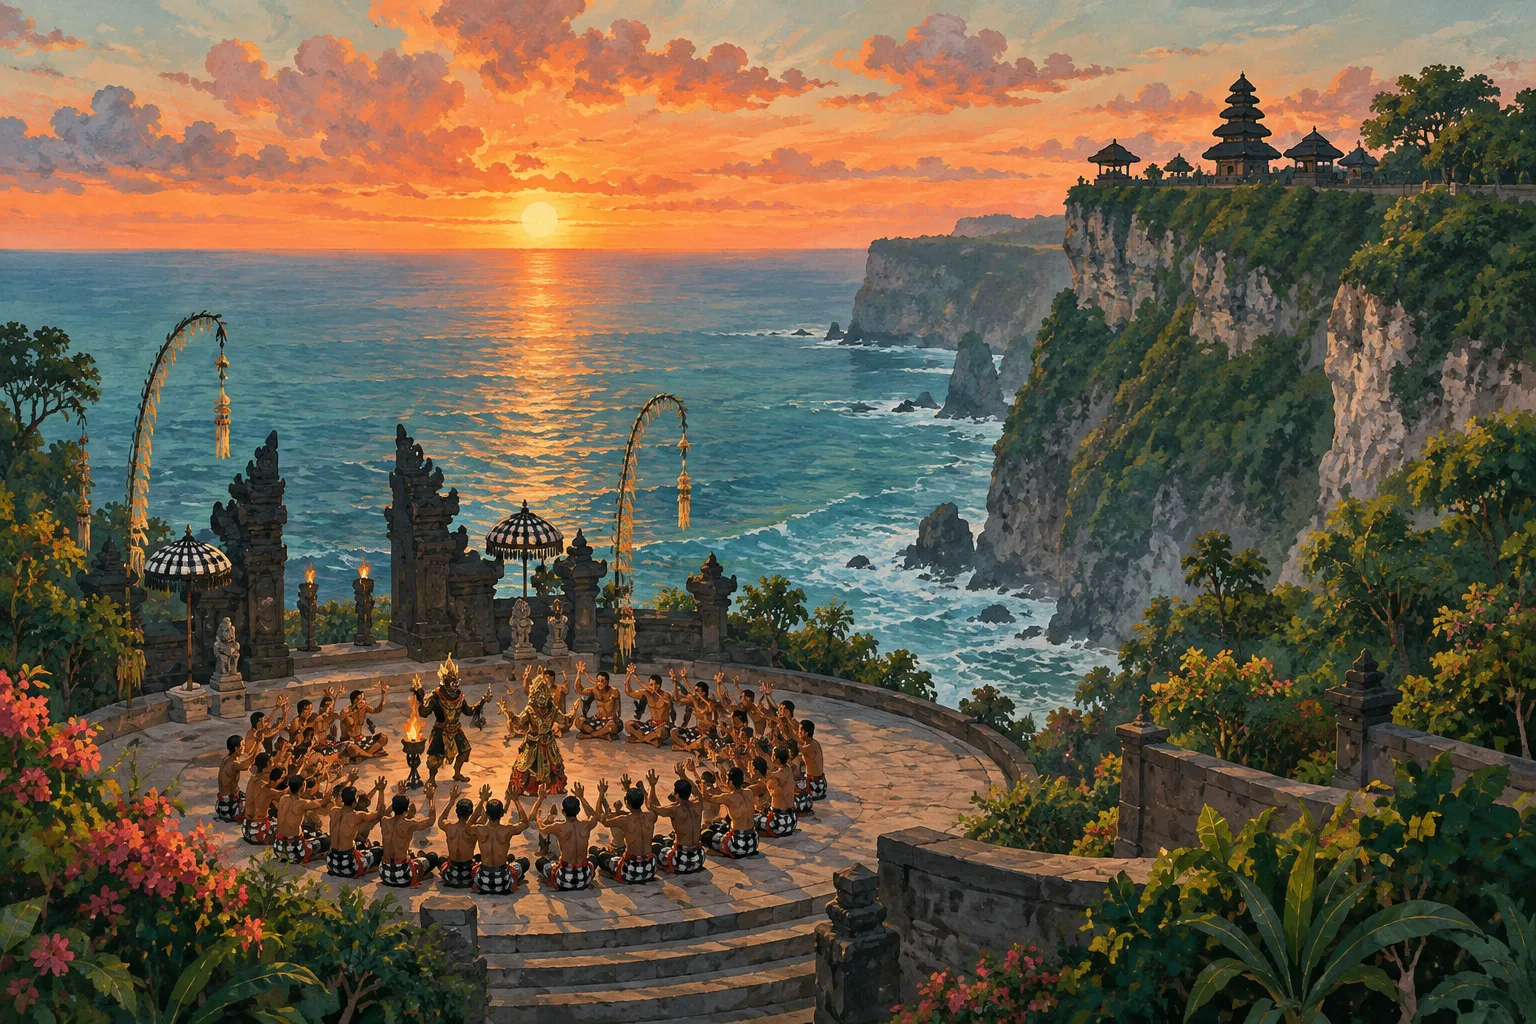
If you attend the Kecak performance, remember that other people have come to watch it. Keep the camera from obstructing their view and follow the operator's recording rules. I would aim for a few considered frames, then put the device down and experience the show.
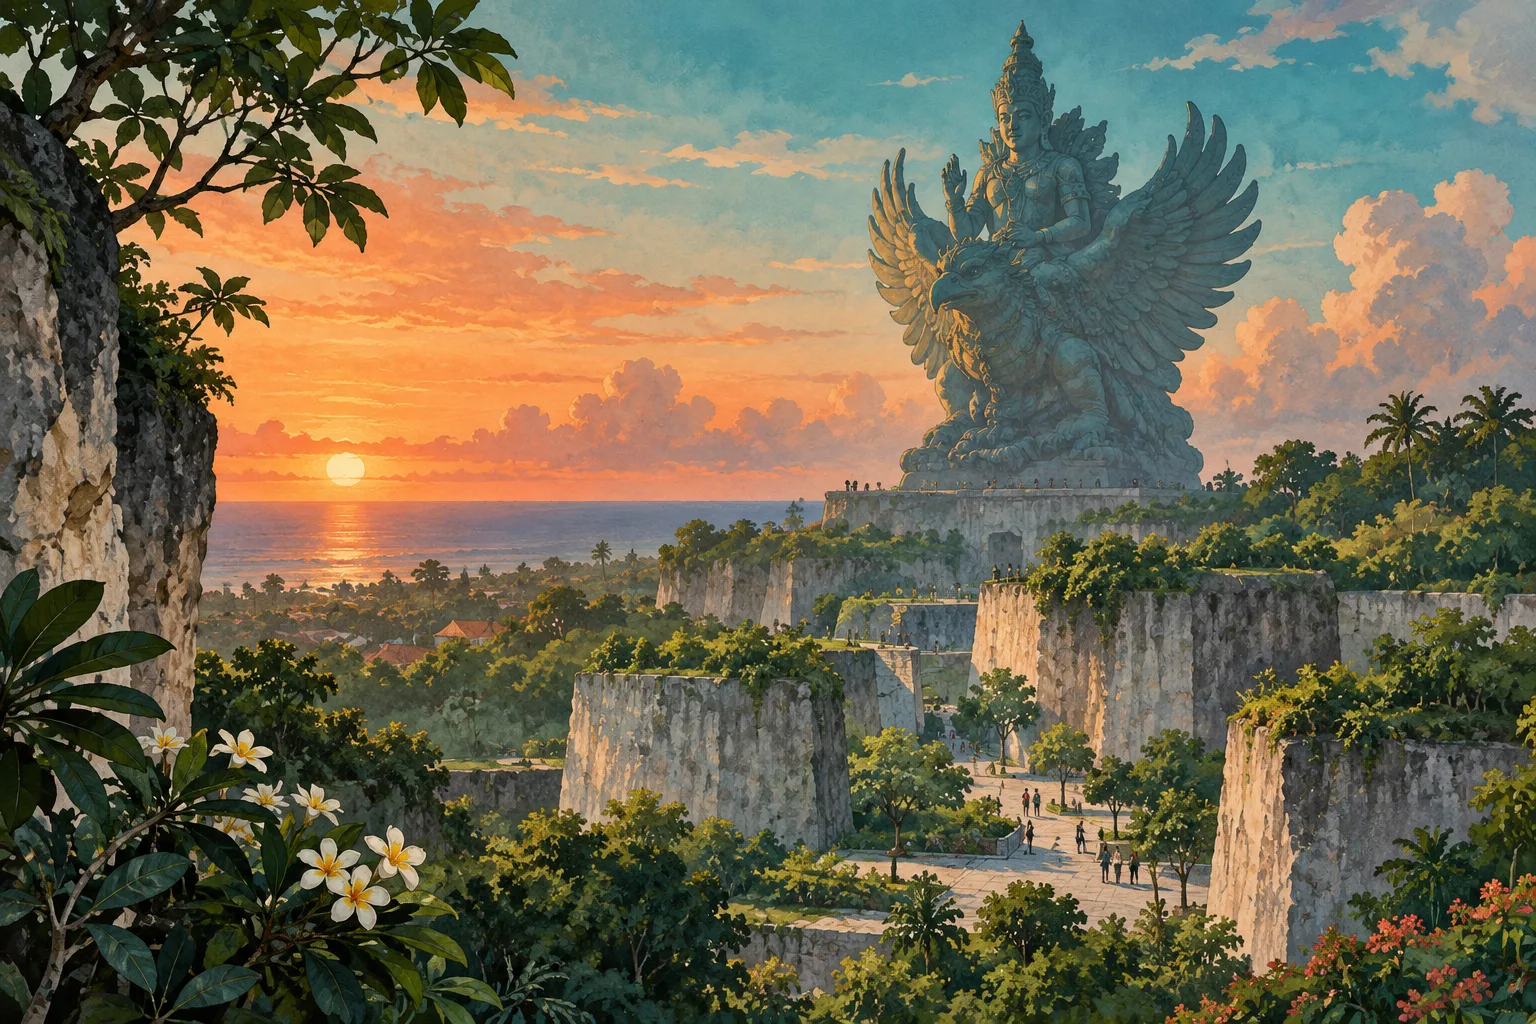
For a different landmark, GWK Cultural Park offers a large-scale cultural setting. Check the park's current photography rules, especially if your plans involve a professional setup, a commercial shoot or equipment beyond a small handheld camera. An ordinary admission ticket should not be treated as permission for every kind of production.
Limestone approaches and beach compositions
Melasti and Pandawa are useful starting points when you want a limestone-coast theme. The Melasti versus Pandawa guide compares the outings, while the Bali Tourism Office's Pandawa page explains the statues and their cultural connection. Let that context inform the photograph instead of treating every feature as decoration.
On an approach road, the priority is a safe place to stop. Do not stand on a blind bend, ask a driver to pause in the carriageway or step backwards into traffic while looking through a screen. A compressed camera perspective can make a road seem empty or wider than it really is. Make the decision from the physical space, not the image you hope to create.
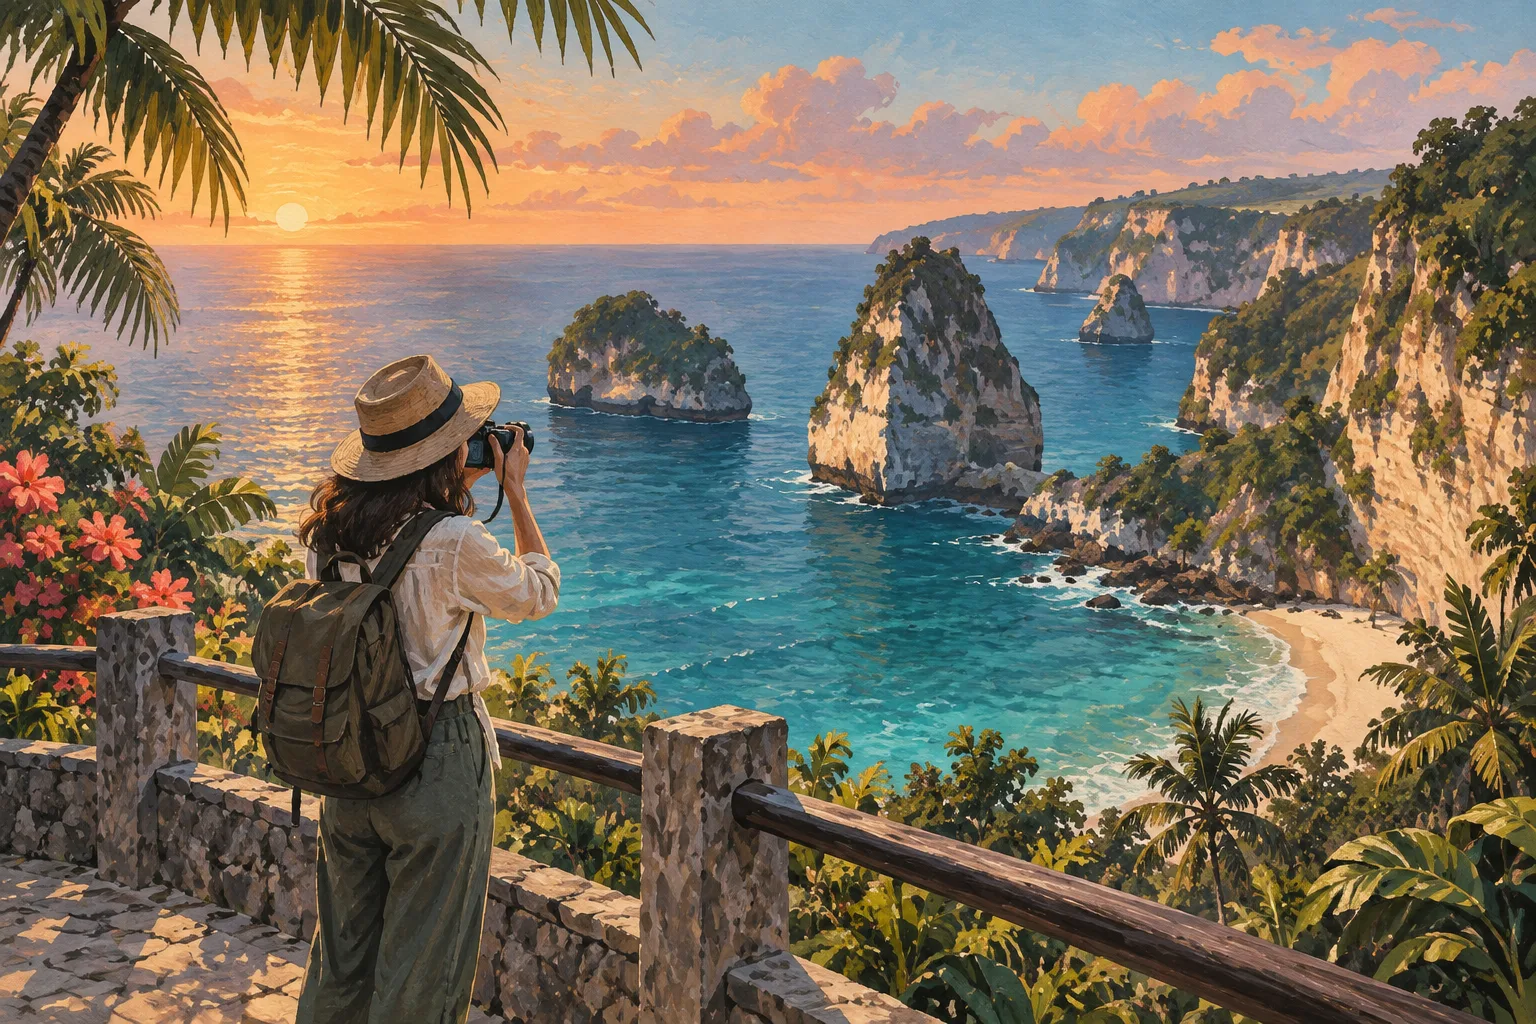
At the beach, try a sequence rather than a single trophy shot: one wide view, one detail and one picture showing the human scale. A footprint, the edge of a towel or a friend walking in a permitted area can tell the story without requiring an empty beach. Leave wildlife, plants and offerings undisturbed.
Water conditions and access restrictions still apply when the purpose is photography. Do not enter unsuitable water for a reflection shot or stay in a place that becomes difficult to leave. If the composition requires ignoring a warning, choose a different composition. There is always another way to show the coast.
Sunset, changing weather and working with the light
The sunset guide gives you places to consider; it does not mean you should race between them. I would choose one viewpoint, arrive with time to understand the space and stay long enough to notice how the scene changes. The interesting image may happen before the moment everyone is waiting for.
Look at the direction and softness of the light, not just the colour of the sky. A cloudy afternoon can make a portrait easier than harsh direct sunlight. A bright scene may suit a silhouette or a detail in shade. You can adapt the photograph without pretending that every weather condition is suitable for every location.
My second creative observation is that a good frame often appears after you stop comparing the scene with a saved reference. Put the reference away for a few minutes. Look for the shape, colour or small movement that is actually in front of you. The result may be less familiar and more connected to the day you are having.
For seasonal planning, read the best-time-to-visit guide and check the current forecast. Never let a dramatic sky tempt you onto an exposed or closed route. Pack the camera away when conditions make moving safely or protecting equipment difficult, and continue the outing in a suitable place.
Cafes, food and photographs with people
For a quieter change of subject, use the cafe guide or restaurant guide to find somewhere you actually want to eat. Order and enjoy the visit rather than treating the venue as a free studio. Ask before moving furniture, photographing staff or setting up equipment that affects other customers.
For food, work with the table you have and keep the process brief enough that the meal is still enjoyable. A close detail and a wider table scene can tell the story without rearranging someone else's order. If the venue is busy, favour a handheld picture that does not intrude on neighbouring tables.
For portraits, ask the person how they want to be photographed. Check that the location is comfortable and that they are not being asked to balance on something, stand too close to traffic or ignore a barrier. A relaxed expression in a safe place is a better starting point than an anxious pose at an edge.
When other visitors are in the background, be considerate about framing and publication. Avoid making children or worshippers the identifiable subject without appropriate permission. If you want a clear frame, wait politely or adjust your position; do not demand that everyone else leave a public place so your image looks private.
A practical photo-day plan and what to carry
I would begin with one main landscape stop, add a meal or coffee and leave a second location optional. Choose the order around access, current weather and the light you want. Make the plan short enough that an unexpected queue or a longer lunch does not force a rushed drive.
Carry a small cleaning cloth, enough battery power and a secure way to put the camera away. Keep keys and important documents separate from wet beach items. Before changing lenses or opening bags, choose a stable place where you are not blocking a path or exposing equipment to sand and splashes.
For a group, agree who is driving and how the equipment will be stored. A BUGORIDE can suit some days, but an enclosed car may be preferable for a large amount of gear or uncertain weather. Check vehicle availability and ask the manager on WhatsApp about delivery arrangements and whether the planned setup is appropriate.
If you want aerial or commercial photography, verify the applicable permissions with the relevant authorities and site operator before making plans. This guide does not establish a right to fly a drone, run a paid shoot or enter a restricted area. Keep those questions separate from a normal visitor ticket or road-rental booking.
At the end of each stop, take a moment to check that everyone has their belongings and that you have left the place as you found it. Do not leave props, packaging or food behind to achieve a particular look. The photograph should be the thing you take away, not a reason the next visitor finds the place worse.
When selecting images later, look for a small set that tells the day honestly. You do not need twenty nearly identical sunset frames. A wide view, a human moment, a detail and an image of the journey can make a stronger story. Editing can improve clarity and colour, but I would avoid presenting a heavily altered location as a practical guide to what someone else will find there.
Frequently Asked Questions
What are the best Uluwatu Instagram spots?
Start with the type of image you want: temple setting, limestone beach, cultural landmark or food. Choose permitted viewpoints and a short route. The best location for your day is one you can enjoy without rushing or ignoring access rules.
Do I need a professional camera?
No. A phone can work well when you pay attention to light, framing and the story you want to tell. Use equipment you can carry and put away safely throughout the outing.
Can I photograph the Kecak dance?
Follow the current operator's recording rules and avoid blocking other spectators. Ask before using equipment beyond an ordinary handheld device. A ticket does not establish permission for a commercial production.
Can I fly a drone at the viewpoints?
Do not assume so. Check the relevant aviation, local and site permissions before flying. A scenic location or another person's drone footage is not evidence that your planned flight is permitted.
What if the sunset is cloudy?
Work with the light you have or choose a different subject. A cloudy scene can still be interesting, but safety and access conditions come first. Do not move into an exposed area simply to chase a different angle.
Is a buggy necessary for a photo day?
No. Choose transport according to the group, equipment, weather and driver. A buggy is one option; a driver-operated enclosed car may suit another trip better. Confirm delivery and vehicle suitability before booking.
The images I would keep are the ones that bring back the feeling of a good day, not just proof that a famous pin was reached. Slow down, look carefully and let the place remain itself. — Bugo